

Efficiently managing school timetables is crucial for ensuring smooth operations and maximizing productivity. With the advancement of technology, manual scheduling processes are becoming obsolete, giving way to sophisticated software solutions like aSc Timetables. In this blog post, we will explore a step-by-step guide on how to create school timetables effortlessly using aSc software.
-

how to create school time table 2022| how to setup school time table 2022 || school time table 2022
-

how to create school time table 2022 part 2 | how to made school time table | school time table 2022
-

how to assign class teacher first period ASC time table | school time table create | asc time table
-

how to create school relief period | relief for school teacher | relief in aSc time table 2022
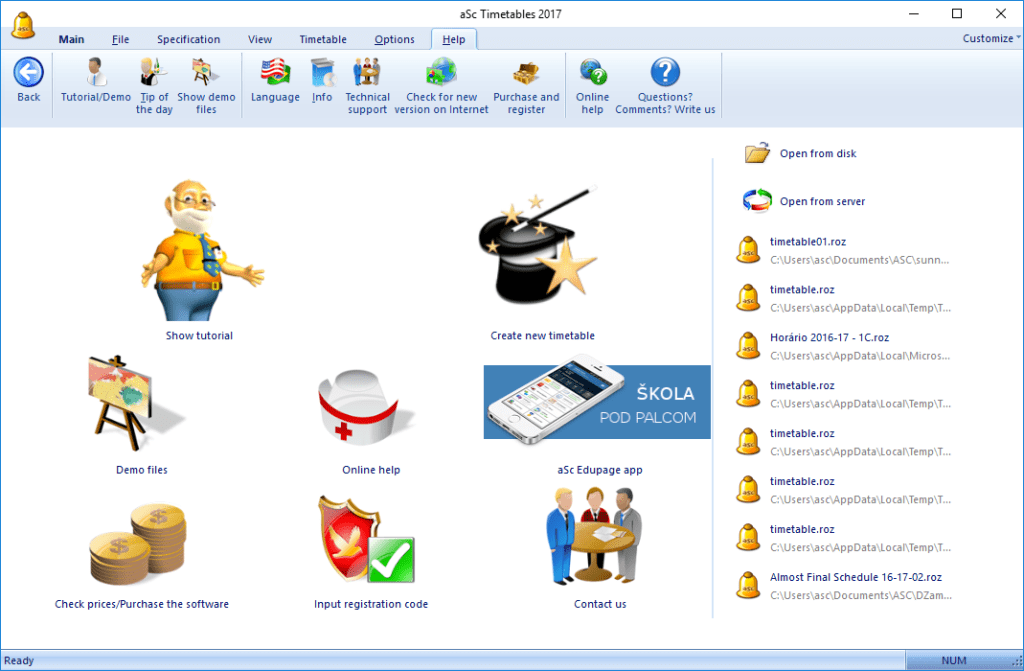
Step 1: Installation and Setup Before diving into timetable creation, ensure that you have installed the aSc Timetables software on your computer. Once installed, launch the application and set up your institution’s details such as the name, address, and academic year.
Step 2: Define Basic Parameters Start by defining the basic parameters of your timetable, including the number of classes, teachers, subjects, and classrooms available. Input this information into the software to provide a foundation for timetable generation.
Step 3: Inputting Data Next, input all relevant data into the software. This includes class schedules, teacher availability, subject preferences, and any specific constraints or preferences. Ensure accuracy and completeness in data input to facilitate efficient timetable generation.
Step 4: Generate Timetable Once the data is inputted, utilize the powerful algorithm of aSc Timetables to automatically generate a preliminary timetable. The software optimizes scheduling based on inputted data, considering factors such as teacher availability, classroom capacity, and subject requirements.
Step 5: Refinement and Adjustment Review the generated timetable and make necessary refinements and adjustments. This may involve resolving conflicts, balancing teacher workload, and optimizing classroom utilization. aSc Timetables provides intuitive tools for manual adjustments, allowing users to fine-tune the timetable according to specific requirements.
Step 6: Finalizing and Publishing After refining the timetable to satisfaction, finalize the schedule and prepare it for publishing. aSc Timetables enables users to export the timetable in various formats such as PDF or Excel, making it accessible to teachers, students, and administrative staff.
Step 7: Monitoring and Maintenance Once the timetable is implemented, continuously monitor its effectiveness and make adjustments as necessary. Utilize the reporting and analytics features of aSc Timetables to track key metrics such as class attendance, teacher workload, and resource utilization. This ensures ongoing optimization of the timetable to meet the evolving needs of the institution.
Conclusion: Creating school timetables can be a daunting task, but with the right tools and software like aSc Timetables, it becomes a streamlined and efficient process. By following the steps outlined in this guide, educational institutions can harness the power of technology to generate optimized timetables that enhance productivity and facilitate effective learning environments.
Download software https://www.asctimetables.com/
Help Aricles https://help.asctimetables.com/
Tamil Play List
-

Basic Interface Introduction| ASC Timetables 2019 | Automatic Timetable Generation Software
-

Set Lectures/Periods per day| ASC Timetables 2019 | Automatic Timetable Generation Software
-

Basic Timetable Requirements Setting | ASC Timetables 2019 | Automatic Timetable Generation Software
-
Basic Timetable Requirements Setting | ASC Timetables 2019 | Automatic Timetable Generation Software
-

Enter Subjects | ASC Timetables 2019 | Automatic Timetable Generation Software
-

Enter Classes in ASC Timetables | ASC Timetables 2019 | Automatic Timetable Generation Software
-

Enter Class Rooms in ASC Timetables | ASC Timetables 2019 | Automatic Timetable Generation Software
-

Enter Teachers + Complete Data Entry | ASC Timetables 2019 | Automatic Timetable Generation Software
English Video Gide
Collecting data for aSc School Timetables
Collecting data for aSc Timetables software involves gathering essential information about your school’s resources, including teachers, classes, subjects, and classrooms. Here’s a detailed guide on how to collect data effectively:
- Teacher Information:
- Compile a list of all teachers in your school, along with their availability preferences and constraints. Note any specific subjects or classes they teach and any periods they are unavailable due to other responsibilities.
- Class Information:
- Gather data on all classes or groups within your school, including their grade level, subject requirements, and any special considerations such as extracurricular activities or shared resources.
- Subject Information:
- Document the subjects offered by your school, including their curriculum requirements and any specific teacher qualifications needed to teach them. Ensure that each subject is assigned to the appropriate classes or groups.
- Room Availability:
- Identify all available classrooms or teaching spaces within your school, along with their capacities and any equipment or amenities they offer. Note any scheduling constraints, such as rooms that are unavailable during certain periods due to maintenance or other activities.
- Constraints and Preferences:
- Take note of any scheduling constraints or preferences that need to be accommodated, such as teacher preferences for certain time slots, class restrictions due to shared resources, or any other limitations that may impact scheduling.
- Special Considerations:
- Consider any special considerations or requirements unique to your school, such as block scheduling, split classes, or rotating schedules. Ensure that these factors are accounted for when collecting data and configuring the software.
- Data Verification:
- Double-check the accuracy and completeness of the collected data to ensure that it reflects the current state of your school’s resources. Verify teacher availability, class schedules, and room allocations to minimize errors during timetable generation.
- Input into aSc Timetables:
- Once the data is collected and verified, input it into the aSc Timetables software according to the designated fields and parameters. Take advantage of the software’s intuitive interface to streamline the data entry process and ensure accuracy.
By following these steps and diligently collecting data, you can effectively prepare the necessary information for creating timetables using aSc Timetables software. This comprehensive approach ensures that the generated timetables accurately reflect your school’s scheduling needs and optimize resource utilization for enhanced productivity and efficiency.
Collecting data
Here’s a suggested format for collecting data to input into aSc Timetables software:
- Teacher Information Form:
- Name of Teacher:
- Subject(s) Taught:
- Availability Preferences (e.g., preferred teaching hours, days off):
- Constraints (e.g., unavailable periods, other duties):
- Additional Notes:
- Class Information Form:
- Class/Group Name:
- Grade Level:
- Subject Requirements:
- Special Considerations (e.g., extracurricular activities, shared resources):
- Additional Notes:
- Subject Information Form:
- Subject Name:
- Grade Level(s) it’s taught to:
- Curriculum Requirements:
- Teacher Qualifications (if applicable):
- Additional Notes:
- Room Availability Form:
- Room/Space Name:
- Capacity:
- Equipment/Amenities:
- Scheduling Constraints (e.g., unavailable periods, maintenance):
- Additional Notes:
- Constraints and Preferences Form:
- Teacher Preferences (e.g., preferred time slots):
- Class Restrictions (e.g., shared resources, split classes):
- Special Considerations (e.g., block scheduling, rotating schedules):
- Additional Notes:
- Data Verification Checklist:
- Verify Teacher Availability
- Confirm Class Schedules
- Check Room Allocations
- Ensure Accuracy and Completeness of Data
- Additional Notes:
Using these forms or templates, you can systematically collect and organize the necessary data for inputting into aSc Timetables software. Customize the forms according to your school’s specific requirements and ensure thoroughness and accuracy in data collection to facilitate efficient timetable generation.
How to provide this condition in asc Timetables?
Each teacher should have 1 lesson on 1 week at 1st period, 1 lesson on 1 wk at last period, but both not on the same day and 2nd period should be free for them